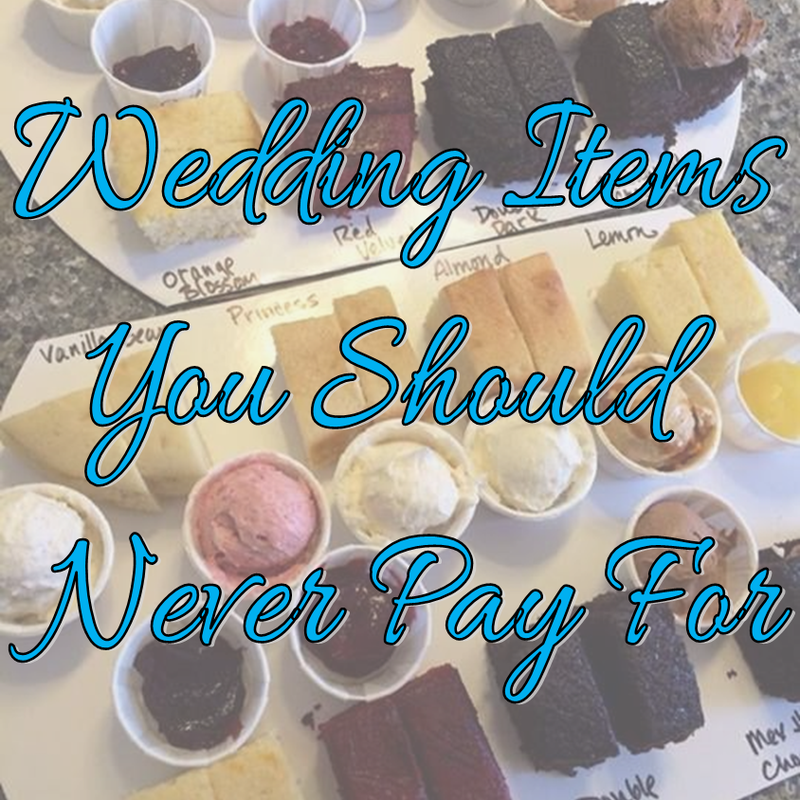
When it comes to deciding what to include and what not to include for your wedding - a cake is one of those things that can be pretty hard to take out. Many brides will get a little sticker shock when it comes to getting a price quote for their wedding cake. This cost can range anywhere from $1.50 to $12 per slice of cake (and we aren't talking about how you would slice a cake at home either) largely depending on where you are getting your cake from, the level of detail and if there is a cake cutting cost at your venue.
However, if you are a crafty bride and know your way around the kitchen a DIY wedding cake might be the perfect way to have your cake and eat it too! This probably won't be the easiest DIY project you will ever take on, but I found some great tips from Anita Gupta who runs the specialty cake bakery, Maliha Creations, in Charlottesville, Virginia.
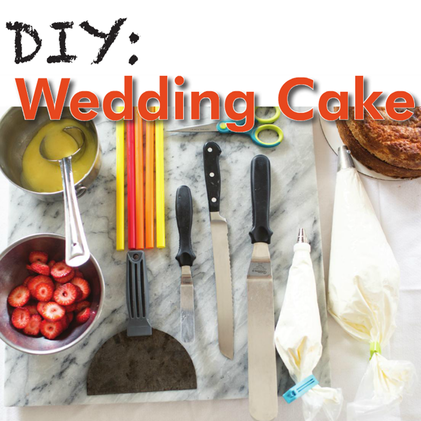
To create this DIY cake you will need:
However, if you are a crafty bride and know your way around the kitchen a DIY wedding cake might be the perfect way to have your cake and eat it too! This probably won't be the easiest DIY project you will ever take on, but I found some great tips from Anita Gupta who runs the specialty cake bakery, Maliha Creations, in Charlottesville, Virginia.
To create this DIY cake you will need:
|
|
Step 1
Begin by torting (slicing horizontally) your cakes. Place your cake on a turn table and put your hand on top of cake. While rotating the turntable, slice through the cake horizontally. Do this for each cake and you will end up with 12 cake rounds (4 of each size).
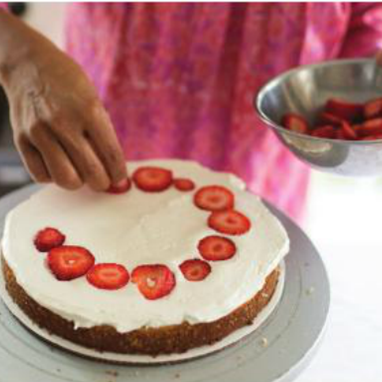
Step 2
Place one 10" round cake on cake board. Add a large dollop of buttercream and smooth to the edges. Add fresh strawberries (or choice of fruit) to buttercream.
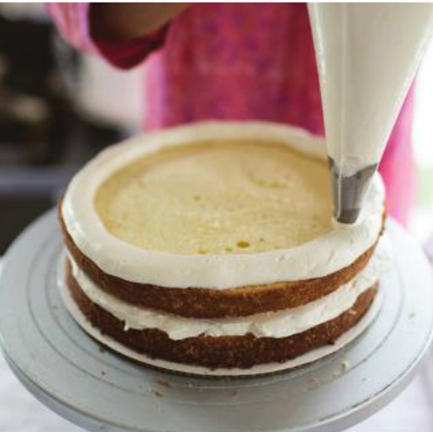
Step 3
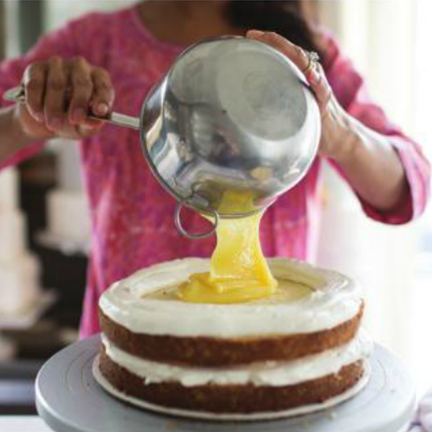
Place another 10" round on top of strawberry/buttercream layer. To add a soft filling, like lemon curd, use piping bag filled with buttercream to pipe a buttercream dam. This will hold the filling in and prevent leakage. Fill center with lemon curd.
Begin by torting (slicing horizontally) your cakes. Place your cake on a turn table and put your hand on top of cake. While rotating the turntable, slice through the cake horizontally. Do this for each cake and you will end up with 12 cake rounds (4 of each size).
Step 2
Place one 10" round cake on cake board. Add a large dollop of buttercream and smooth to the edges. Add fresh strawberries (or choice of fruit) to buttercream.
Step 3
Place another 10" round on top of strawberry/buttercream layer. To add a soft filling, like lemon curd, use piping bag filled with buttercream to pipe a buttercream dam. This will hold the filling in and prevent leakage. Fill center with lemon curd.
| 
| 
|
Step 4
Repeat with another 10" round and strawberry/buttercream layer. Add final 10" round on top. Cover entire 10" round cake with buttercream and refrigerate until cold.
Step 5
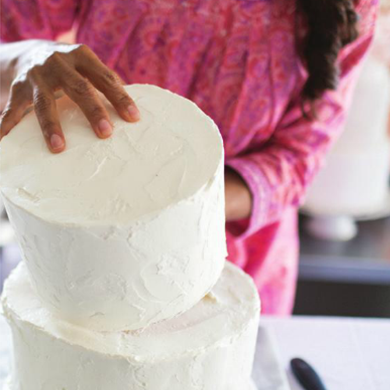
After cake has been refrigerated, add more buttercream in thick layers. Using cake board as guide, use bench scraper to remove excess and smooth sides. For a more rustic look, use the small palette knife to create texture on the buttercream. Repeat steps 1-5 with 8' round and 6" round cakes.
Step 6
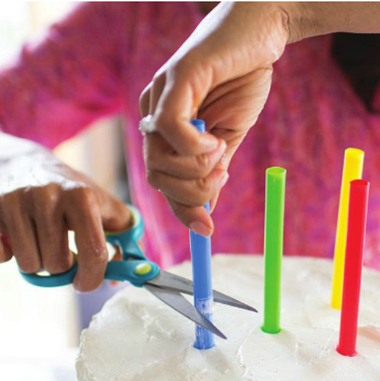
After all 3 tiers have been filled and frosted, the cakes will be stakes. On bottom 10" tier, place 6 bubble tea straws into the cake and push down until the board is reached. Then lift gently and cut straws at the frosting mark. Push straws back into the cake. Take a small amount of fondant and wet slightly. Flatten and put on top of the cake. This will act as the glue to hold the next tier on the cake.
Repeat with another 10" round and strawberry/buttercream layer. Add final 10" round on top. Cover entire 10" round cake with buttercream and refrigerate until cold.
Step 5
After cake has been refrigerated, add more buttercream in thick layers. Using cake board as guide, use bench scraper to remove excess and smooth sides. For a more rustic look, use the small palette knife to create texture on the buttercream. Repeat steps 1-5 with 8' round and 6" round cakes.
Step 6
After all 3 tiers have been filled and frosted, the cakes will be stakes. On bottom 10" tier, place 6 bubble tea straws into the cake and push down until the board is reached. Then lift gently and cut straws at the frosting mark. Push straws back into the cake. Take a small amount of fondant and wet slightly. Flatten and put on top of the cake. This will act as the glue to hold the next tier on the cake.
| 
|
Step 7
Place the 8" tier on top of the 10" tier and center. Repeat the insertion of straws and the fondant glue. Place the 6" tier on top and your cake is now stacked and complete! You are now ready for the decoration!
Step 8
Using the piping bag with buttercream, pipe pearls (aka dots) around each tier to create a border.
Step 9
To safely insert fresh flowers into your cake, just trim the stems to about 2" and place the stem into the straw. The flowers can now be inserted into the cake without worrying about the flowers contaminating the cake.
Step 10
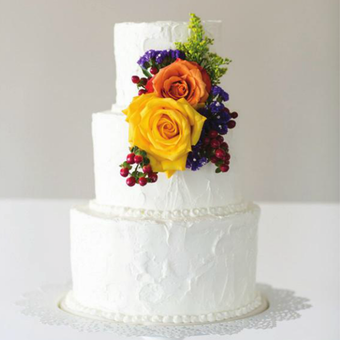
Continue adding flowers (or other decorations) until the cake is finished. Your cake is now complete!
Place the 8" tier on top of the 10" tier and center. Repeat the insertion of straws and the fondant glue. Place the 6" tier on top and your cake is now stacked and complete! You are now ready for the decoration!
Step 8
Using the piping bag with buttercream, pipe pearls (aka dots) around each tier to create a border.
Step 9
To safely insert fresh flowers into your cake, just trim the stems to about 2" and place the stem into the straw. The flowers can now be inserted into the cake without worrying about the flowers contaminating the cake.
Step 10
Continue adding flowers (or other decorations) until the cake is finished. Your cake is now complete!
Have you had success making a tiered cake for a wedding or other event before? I would love to hear about your cake making making and decorating tips in the comments section below!
xoxo
Megan
You might also like...
xoxo
Megan
You might also like...


 RSS Feed